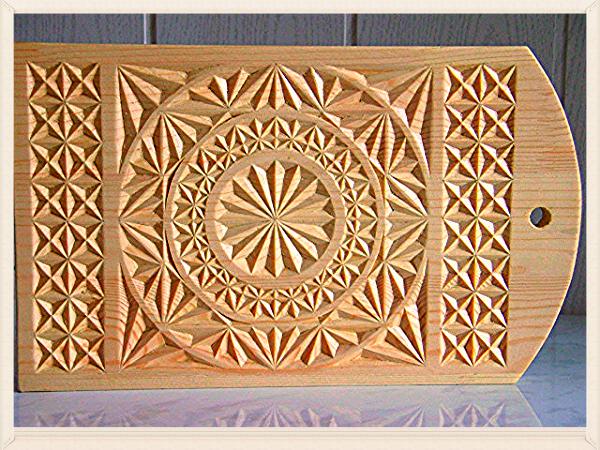
As promised, I will begin publishing a series of articles about wood carving. I bring to your attention a cutting board with geometric carvings.
An interesting point in this work is the composition in the form of a “Temple”. This kind of work does not look ordinary, in contrast to the patterns in the form of rosettes that have already become familiar compositions.
This cutting board is one of my first geometric carvings. It is difficult to do such work, but do not be afraid; if you have good command of the equipment, such work will take about 5 hours, but beginners will need twice as much.
Such a board will serve as an excellent decoration, gift, or can be used for its intended purpose - for cooking.
Not much history.
The roots of artistic wood processing go back to the distant past, when each geometric figure or their combination denoted a certain symbolism. In the 15th century, carving became widespread and was called carving. Of course, like all types of craft, wood carving did not stand still and also developed. Simple patterns were formed into ornaments, new tools appeared with the help of which craftsmen created stunning patterns that decorated houses and household items.
Now there are many directions and styles of wood carving.
There are still two main groups and each has its own characteristics, styles and techniques.
Flat relief carving
- Proriznaya
- Contour
- Geometric
- Bracketed
- Abramtsevo-Kudrinskaya
- Tatyanka
Volumetric thread
- Brownie
- Church
- Bogorodskaya
- Sculptural
Geometric wood carving, a subtype of flat carving, got its name due to the main use of geometric elements in the form of triangles, squares, and circles. Unlike other types of carving, it has many different techniques for decoration. Another advantage of this carving is that it is easy to perform and does not require a huge set of tools.
How to learn wood carving?
The answer is simple and somewhat comparable to learning to write, you need to start with simple exercise- cut out triangles.
Some people will get clean and even edges after 100 triangles, while for others even 1000 won’t be enough. Like in school, sticks in copybooks, then letters and words.
You will learn more about how to learn wood carving, how to make a knife for wood carving with your own hands, and how to choose steel from my next articles.
So, in order to get started you will need the following tools and accessories:
Tool
As for tools, we will need a wood carving knife.
It should be comfortable and sharp; working with such a tool is a pleasure.
Safety precautions
Also, do not neglect safety rules. Wood carving tools are sharp and require serious attention and attention.
The workpiece must be placed on the table and supported on at least one side. The main part of the work is performed by the hand, at this time the elbow should have a solid support under it. In most cases, the carving technique involves moving the hand towards you; for safety, you should still try to work with the cutter in a direction away from you and avoid putting your free hand in the path of the possible trajectory of the cutter’s dislocation. Do not handle small parts in your hands or on your knees; place a work board under them! Rest is also very important. Don't forget to take breaks - overwork leads to inattention, and therefore the risk of injury. Try to keep yours workplace clean and be sure to have a first aid kit on hand to treat any wounds you are likely to receive while working.
Blank for cutting board

Before starting the carving process, it is necessary to prepare a workpiece that satisfies all the conditions we need; for this we need to know the answers to the following questions.
Which tree to choose for this job?
Personally, I used birch in this work, since when used for its intended purpose, such a cutting board will last much longer than a linden one.
What types of wood should I use for carving? Traditionally, it is easier to start with soft and more homogeneous wood species, such as linden, aspen, birch. You can also work with denser wood species, such as beech, oak, hornbeam, maple, ash, but this is much more difficult, and you should be confident in your abilities, although these species are more interesting in their texture.
I plan to cover the features of wood species in more detail in subsequent articles.
Workpiece humidity
The workpiece should be dried to a moisture content not exceeding 8-10%. Wood with a higher percentage of moisture is easier to carve, but subsequently there is a risk of deformation and cracking. Completely dry wood is harder to cut and there is a high probability of chipping. As for me, I don’t use a moisture meter and basically everything is determined “by eye” and by the quality of the cut.
Surface quality

The workpiece should be as ready as possible, that is, be in a state where you do not have to use sandpaper to finish polishing the surface.
This is due to the fact that if after carving the board is sanded, the sharp edges will become flat - it looks less beautiful and less professional.
Also, it is not very good to use sandpaper for finishing, as small particles of sandpaper remain on the surface, which in turn ruin the wood carving joint. The best alternative is a sharp and well-tuned plane.
Geometric carving technique
I would like to highlight several basic wood carving techniques within the framework of this work; I plan to give a more detailed description of the technique in future articles. 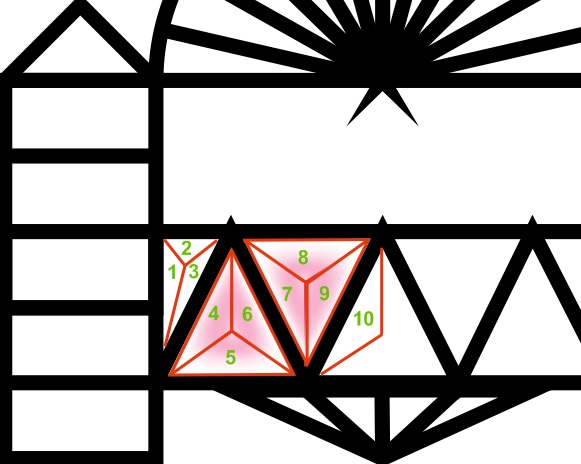
The main points are:
- Watch the angle of the torch.
- In order to avoid chipping, you need to cut out the side that is closest to the cut out element.
- First of all, you need to cut the side that goes along the layer of the workpiece.
- Rosettes should be cut from the edge to the middle.
- When a large triangle is cut out, a smaller triangle should be cut inside it.
- The ribs should be sharp - it's beautiful.
- You should cut with an overlap to remove the marking line.
- Follow the sequence when carving.
Final stage of finishing
In my work, I used walnut stain mixed with mahogany stain. If you plan to use stain as well, then choose a non-water-based stain, although it will go on smoother, but most likely it will “raise the pile”, and the product will again require additional sanding.
In this work, glossy varnish for parquet of the NTs series was used, although for my taste matte varnish is more noble. Try to choose a quality varnish. Varnishing is done using a special brush. Take your time. Try not to leave visible streaks of bubbles and fluff on the surface. Also, in addition to varnish, the work can be coated with wax.
Wood carving - ancient art, which our distant ancestors were engaged in. In every house one could find carved boards, boxes, as well as various decorations, headbands and kokoshniks made using wood carving techniques. Houses inside and outside were covered with beautifully designed elements that served both decorative and practical purposes. Thus, carved frames they protected the gaps between the window and the wall, carved wooden utensils served their main purpose, and women used combs and hairpins with carved elements to tidy up their hair. We offer you a master class on wood carving - we do it step by step and with a video selection.
Nowadays the issue of recreating forgotten crafts is relevant, and one of them is wood carving. More and more people are interested in the question of how to create something unique with their own hands for their family and home. One way to achieve this is wood carving, a master class for which is given below.
Decoration for a cutting board using wood carving technique: geometric carving
Geometric wood carving is a technique known for a long time, which requires a minimum of tools and skills, so it is ideal for beginners. The basis, as the name implies, is a combination of geometric shapes.
To create an ornament on a board, you need a blunt knife and a feather knife, a ready-made stencil and an unvarnished cutting board made from a single piece of linden.
First, you can draw a stencil yourself using a compass, ruler and pencil, or you can take a template on the Internet or any of the books with drawings that are sold in stores or are freely available on the Internet. Knives must be sharp. To do this, sharpen it using sandpaper or leather with goi paste applied to it.
Take a pen knife and cut out the petals with it. The thumb rests on the board, and the phalanx of the index finger touches it lightly. This is necessary to control the depth of the blade. It is important to remember that the second cut, that is, the undercut, should be made by rotating the board 180 degrees. Pointing the knife in the other direction is wrong.

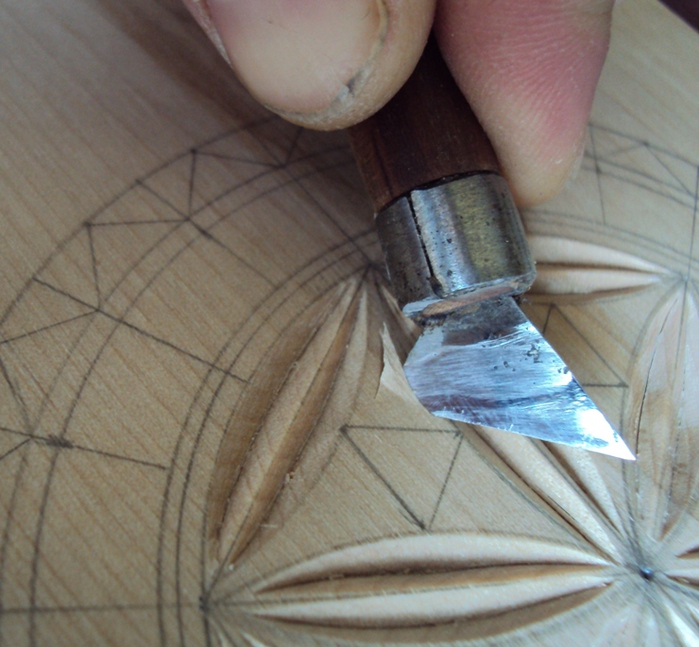
After cutting out all the petals, you need to cut out the triangles. For convenience, you can mark the center of each triangle and start making cuts from there. More experienced craftsmen can do it without marks, by eye. It is necessary to place the corner of the jamb in the center, and deepen the blade so that the tops remain uncut. Thus, the center will be the deepest, recessed place, and the peaks will be prominent.
Carefully clean up any uneven surfaces.
The center is ready.

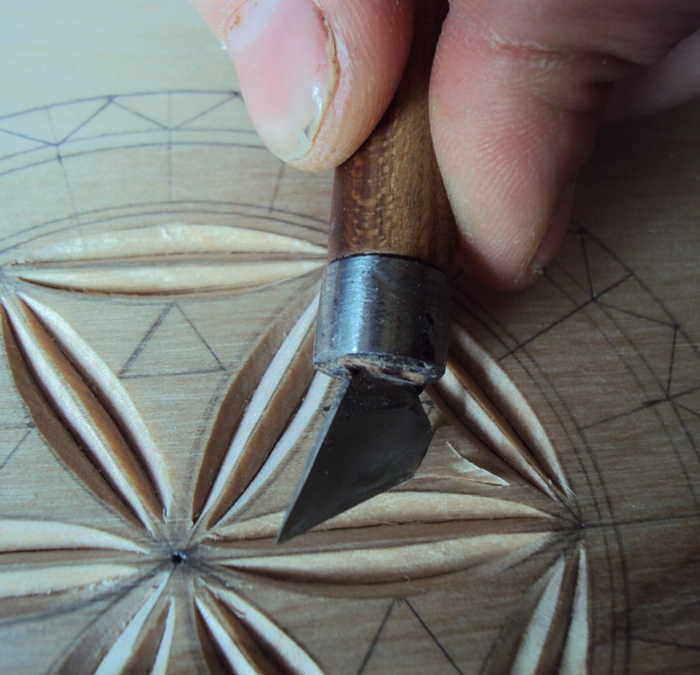
Rays emanate from it, in which straight grooves must be cut. After cutting each groove, it is important to rotate the board slightly so that the angle of inclination and direction of the hand do not change.
Cut the triangles along the edges using the same principle as the inner ones.
After this, all that remains is to sand the board and cover it with varnish or wax. It would be a pity to even use such beauty!
Wood carving: decorate a wooden bracelet with geometric patterns
To carve a wooden bracelet you will need:
- Wood blank
- Knife-jamb
- Pencil, ruler, paper to create a template
Let's start cutting out the ornament on a wooden bracelet
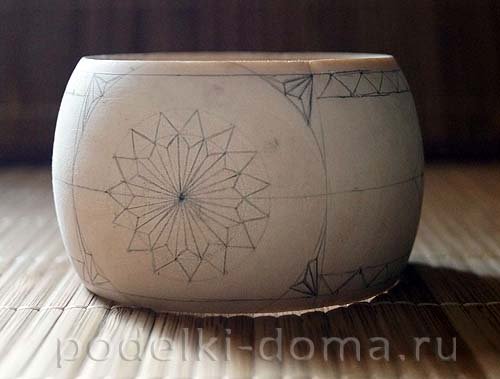
First you need to measure the circumference of the workpiece and its width. After that, based on the size, draw a template on paper. You can look at ready-made templates in photos on the Internet or in books.
Using carbon paper, transfer the painting onto a blank.
Next you need to make an incision. It is important to remember that the long parts of the triangular beams are convex, and the short parts are recessed. The first cut should be made at the short part of the beam. Next, trim the tree on both sides so that you get a longitudinal cutout of the given shape.
Thus, cut out all the rays and triangles along the lines on the workpiece. Next, you need to thoroughly sand the product with fine-grained sandpaper and varnish. The master went over the varnish with the same sandpaper again to highlight the ornament.

Wood carving is popular not only for simple items like boards, boxes and jewelry. Experts are willing to pay a huge price for solid wood furniture. In addition, if entire paintings are carved onto the furniture in various techniques and styles, from Rococo and Baroque to Classicism and Art Nouveau, then such a thing will be valued as exclusive and something unique.
If after the master classes you still have questions about wood carving, we recommend watching a video on the topic of the article.
Wood carving: video master classes
(clickable)
The Tatyanka carving is large-scale, creative, with many different elements, from small to very large, and at the same time very sophisticated. Therefore, matching the cutter size to each specific part is of great importance. Random or factory tools are of little use: they contain a lot of defects and inconsistencies. Although you can adapt to everything, you must always remember that as you master the complex techniques of “Tatyanka”, specialized, varied cutters are required, and as the size of the pattern increases, the size of the chisel of the corresponding profile also increases. For example, instead of No. 6 we use No. 10, instead of No. 17 - No. 33, etc.
In Russia, the tool that best meets all the requirements of the Tatyanka carving technology is available only in the Author's Center. About 400 types of chisels have been developed, both classic and exclusive shapes.
Direct- blades of knives and chisels, as well as chisels. Their blades are straight, like a ruler, but the cutters differ from each other in the width and thickness of the blade and the shape of the cutting edge of the blade, which can be oblique or straight.
Shaped- with a shaped or figured profile in cross section. The following variations of shaped cutters are distinguished:
*box-shaped- in the form of a flat straight chisel with sides of different heights;
*corner- with a profile in the form of an angle. The dimensions of these cutters are determined by the height of the side of the corner of the tool, as well as the size of the angle in degrees between the sides. In most cases this is an angle of 60-90 degrees;
*cerasics- chisels with a profile in the form of the Latin letter U;
*radial- this is 95% of all incisors, which appear in various publications under the names: semicircular, sloping, semi-flat. In the classification proposed by the author, a radius chisel is a chisel with a profile that has part of a circle in its cross section. For example, for a chisel numbered 20/2-1, the width of the blade is half a circle with a diameter of 20 mm (designation 20/2), and the last number 1 is a characteristic of the thickness of the cutter of 1 mm. Another example: a chisel numbered 20/5-0.5 is a chisel with a blade width of 1/5 of a circle with a diameter of 20 mm and a cutter thickness of 0.5 mm. Such a chisel, placed end-to-end on the board, should close a circle with a diameter of 20 mm (it may be noted that factory chisels usually do not meet these requirements, but should).
Klukarzy- all chisels can have a longitudinal bend of the blade and also across it. Such chisels are called cranberries.
Different- chisels that do not fall into any of the above categories. The list of chisels can be expanded dramatically if you sharpen them on the other side. The usual name for such tools is return.
++++++++++++++++++++++++++++++++++++++++
Geometric wood carving for beginners. Master Class
Geometric wood carving is an ancient artistic craft. It was used to decorate everyday household utensils and furniture. The decor is created on the basis of a simple geometric pattern, but it looks extremely beautiful.
You should start with simple ornaments. I'll give you a lesson on geometric carving on a cutting board. The result will be like this:
We will need only 2 knives for wood carving: a feather knife and a triangular jamb knife, as well as a compass, a pencil and a ruler: ![]()
The pen knife is used to cut long elongated slots such as a petal or long groove, as well as small narrow slots. A triangle jamb knife is needed mainly for cutting triangular shapes of various configurations, and is also used for cutting long straight lines. Knives for wood carving should be sharp and fit comfortably in your hand.
First you need to sketch the pattern on the board. You can apply it using a compass and a ruler, or you can take ready-made carving patterns printed on paper and transfer them onto the board using carbon paper: 
We start carving by cutting out the petals: 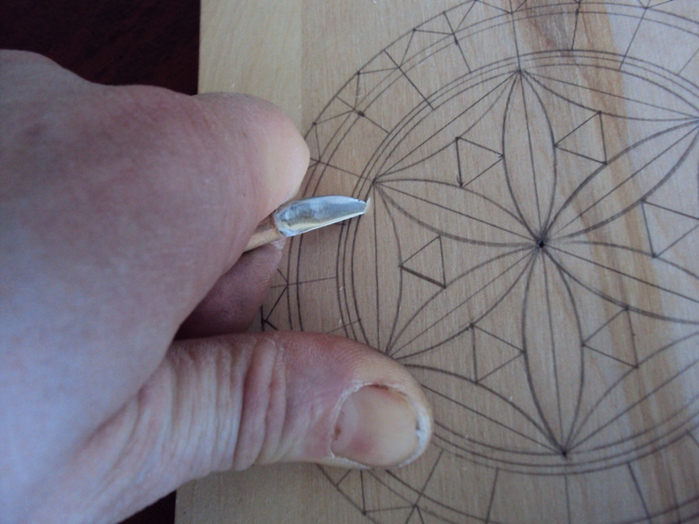
While carving, the thumb is pressed firmly against the board, and the top joint of the index finger should lightly touch the surface. This way you can adjust the depth of the knife into the tree and the angle of inclination. And your thumb will help you move the blade smoothly. After cutting at an angle in one direction, turn the board over and cut on the other side: 
In this case, the shavings should curl like a rope - this is a sign of a sharp instrument. Periodically bring the tool down. I do this on a piece of skin with GOI paste: 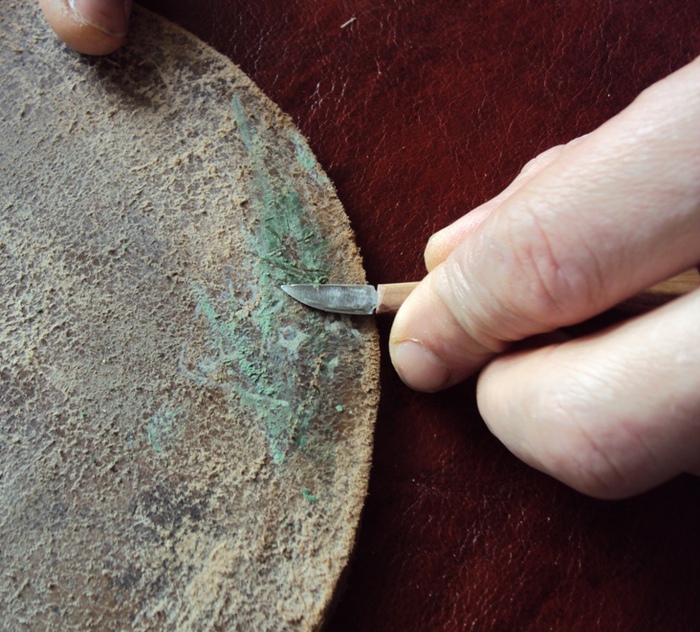
Now we cut out the triangles with a blunt knife. Using the heel, at an angle of approximately 45 degrees, we cut the tool into the wood, not reaching the edges of the pattern. We do this on three sides so that our slits fit together at an angle and the cut chip falls out in the form of a pyramid: 

We clean up what we couldn’t immediately cut off so that the edges are smooth and clean. 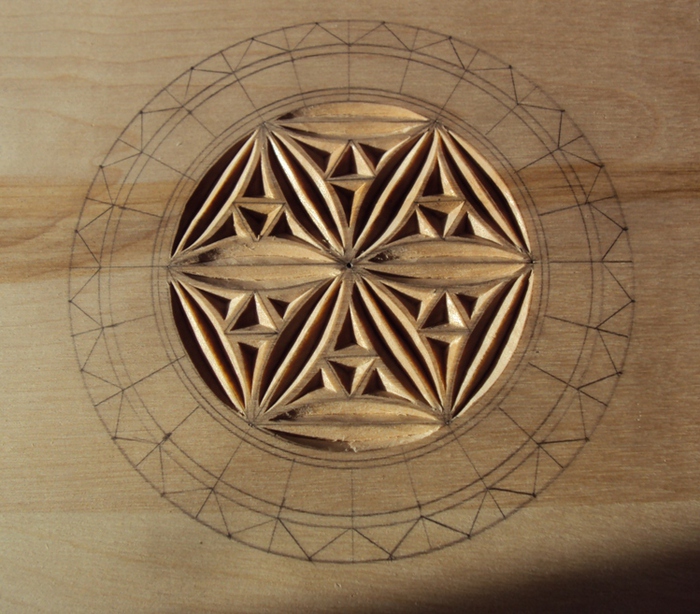
We cut grooves and triangles around the perimeter using the same principle. After finishing the work, we sand everything with sandpaper, the board can be treated with natural impregnation. All! Our cutting board is decorated.
++++++++++++++++++++++++++++++++++++++++++++++
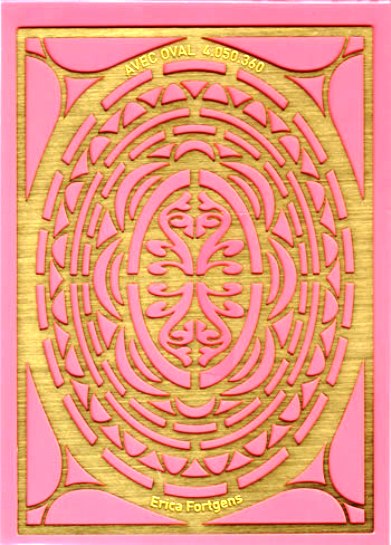
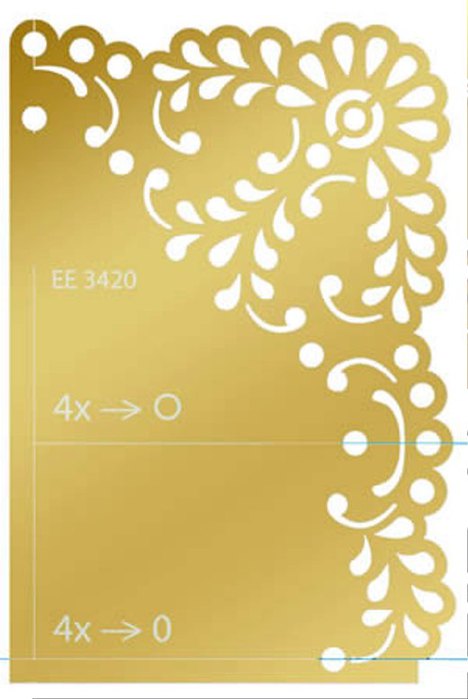
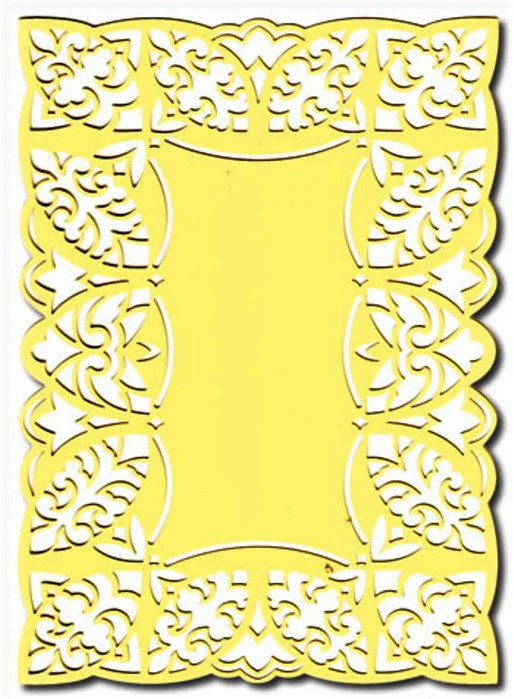
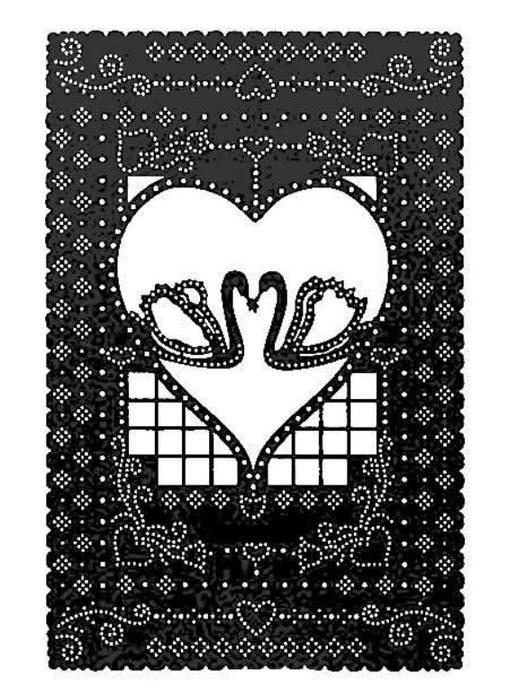
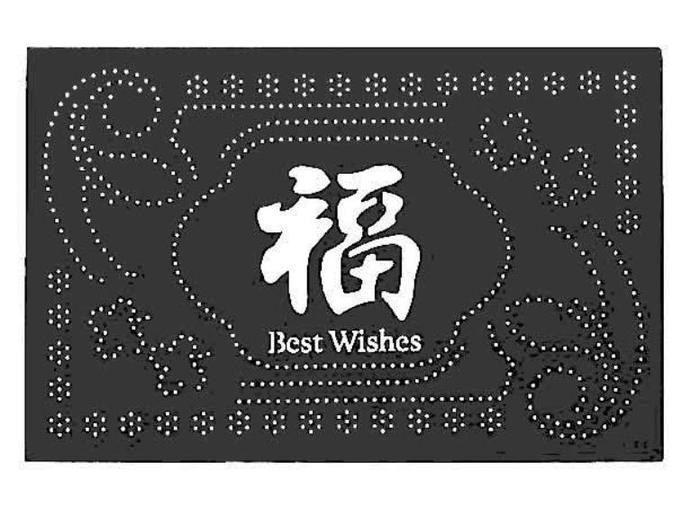
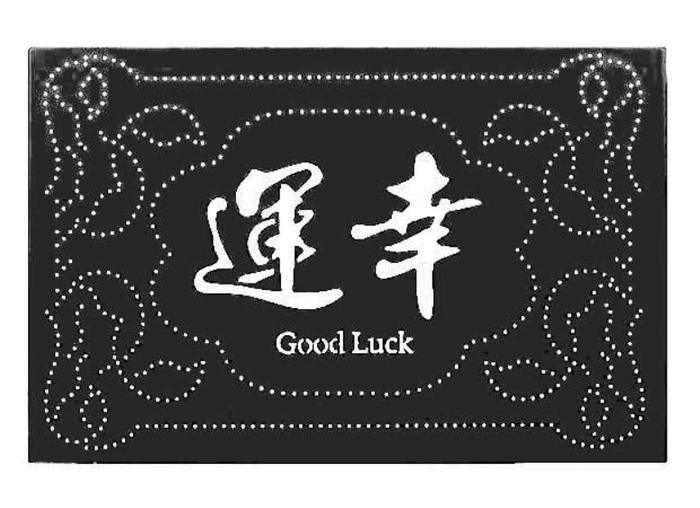
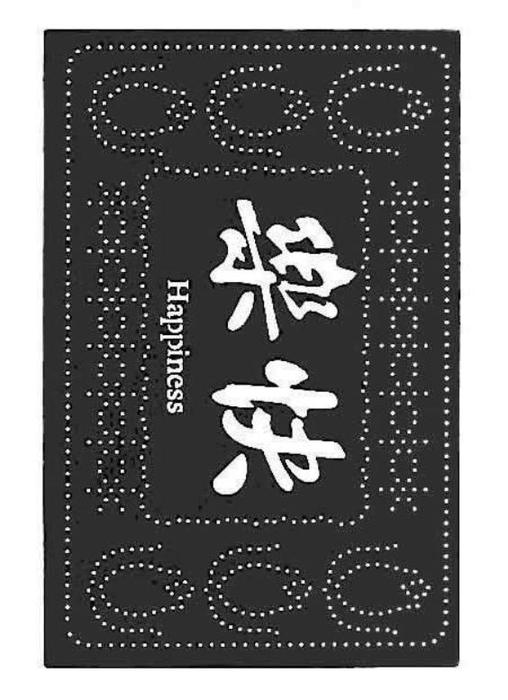
The templates are different.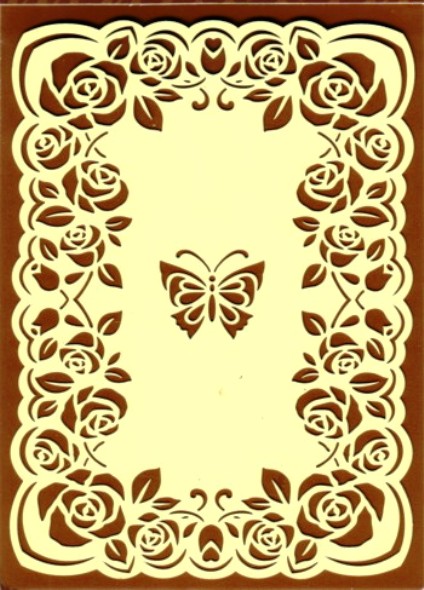
1.
2.
3.
4.
5.
6.
7.
8.
10.
11.
12.
13.
15.
16.
17.
18.
19.
20.
21.
22.
23.
24.
25.
26.
27.
28.
29.
30.
31.
32.
33.
34.
35.
36.
37.
38.
39.
40.
41.
42.
43.
44.
45.
46.
47.
48.![]()
49.