Minecraft - popular computer game in the sandbox genre, created by Mojang in 2011. The game gained immense popularity among players from all over the world and was ported not only to computer platforms, but also to game consoles and mobile devices. In 2014, Mojang was purchased by Microsoft, and later a version of the game was announced for the Xbox One console.
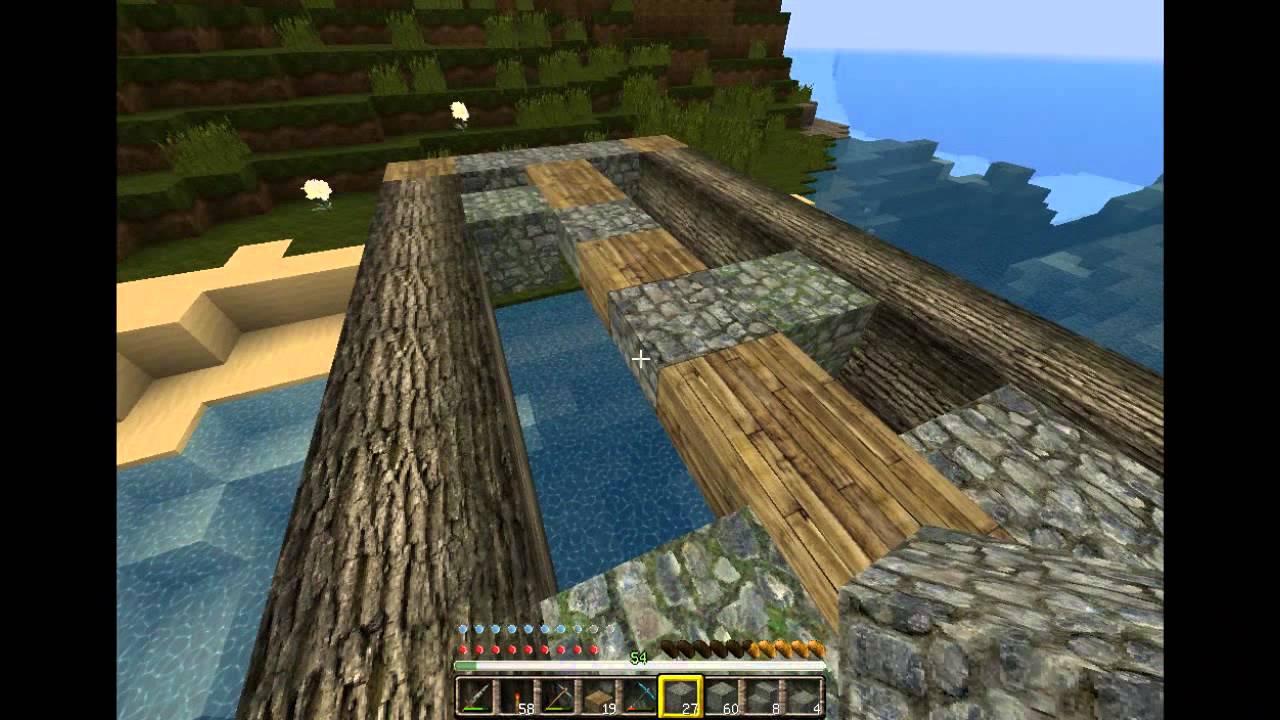
Players can use maps to navigate the game world. To make a map in Minecraft, like any other item, the player needs to use a workbench, having first collected all the necessary materials. The created map can be further expanded if necessary. It is worth noting that a map created in one dimension will not work correctly in another, and the center of the map is considered to be the place where it was created.
Quick navigation through the article
Ingredients
To create a map the player will need:
- Eight sheets of paper and a compass to create a blank map.
- Eight sheets of paper and a map to make an extended map.
- A map and a piece of paper to make a copy of an existing map.
Manufacturing
To create a map you will need:
- Activate the workbench.
- Place eight sheets of paper in all cells except the central one.
- Place the compass in the central cell.
- Take the received card and take it in your hands, placing it on the quick access panel.
To expand the created map you need:
- Activate the workbench.
- Place sheets of paper in all cells except the central one.
- Place an existing card in the center cell.
- Take the enlarged card.
To create a copy of the map:
- Open the workbench.
- Place an existing card in any cell (except the far right one).
- To the right, put an empty card.
- Pick up a copy of the card.
It is worth considering that the contents of copies of one map are synchronized, so if the map is lost or transferred to another player, the explored area will remain on other “related” maps.
no comments
Question icon - help.
When you select the top button, the user will be transferred to the file hosting service where this very map is stored.
The file in this picture is in .rar format. This is an archive format, opened by archivers (see picture).
When you open a .rar file, this window will appear (or another window, depending on the archiver; the article will describe it using WinRar as an example).
Then you need to right-click on the shortcut and then left-click “File Location”.
There should be a folder in the game folder "saves".
We need to go there. If there is no such folder in the game folder, you need to create it by right-clicking.
The folder name should be “saves” (without parentheses) and nothing else.
In the future, all downloaded and created maps will need to be thrown there.
Having created the folder, you need to return to the archiver (Figure 10) and click on the “Extract” button.
Once the path is selected, extraction will begin.
It will last no more than 10 seconds.
After finishing, you can close the archiver.
That's all! You just need to start the game and the map will appear in single-player mode.
How to make your own map for the game Minecraft?
Making your own invention is very simple, but to prevent the finished map from quickly becoming boring, you need to:
- Have a wide imagination. Then the map will be large and it will not be possible to complete it in 3 minutes.
- Have time. Creating a large map also takes a lot of time.
- Pay attention to absolutely every little detail, every pebble and every leaf. Then the map will have fewer “lags” - errors that prevent it from working well (for example, you were walking along the road and suddenly fell through simply because the cube the character stepped on was not a solid body).
- Good to know English language. Usually, when creating a map, the interface is in English.
First you need to select the version of the game for which the map will be developed. It is better to choose game version 1.8 or higher.
After the game you need to go to the “Creativity” mode and there you need to find “World Settings”.
Translated this is “Settings To World”. There it is necessary DISABLE generation of buildings.
Then you need to select a flat world type. Then you can start creating a map.
After selecting the world, you need to choose which game mode the map will be created for.
Survival or adventure?
The choice is yours.
Based on the selected mode, you need to think about how many and what items you need to create.
If it’s an adventure, then you need to come up with a plot, and to survive you need to have more enemies and less (a little is still necessary, otherwise the character will die from exhaustion) food.
Creating a map
It is believed that the WorldEdit program, which can be downloaded from this link, will greatly help players in creating a map.
DownloadThe first thing you can do is add a lot of blue and white squares - the sky and clouds.
Of course, you need to add path cubes to the village and brown cubes next to the path ( wooden fence) along with small houses.
And a couple more residents. An action must be applied to the residents so that if the player approaches, there will be a “Talk” icon.
Residents also need to add the text of the conversation about the kidnapped girl.
Not far from the village you will need a lot - a lot of green and dark green cubes - trees.
You will also need several white and black cubes - slugs and spiders. The more cubes, the larger the object.
If possible, you don’t need to draw them - just add them from the animals section (if, of course, there is one).
Afterwards you will need to add a blue river, and then a brown mountain with a white top and some small gray details of the castle.
Then again the terrain (flat, for every taste).
Drawing a lava moat (red and orange colors), as well as a suspension bridge, will not be difficult.
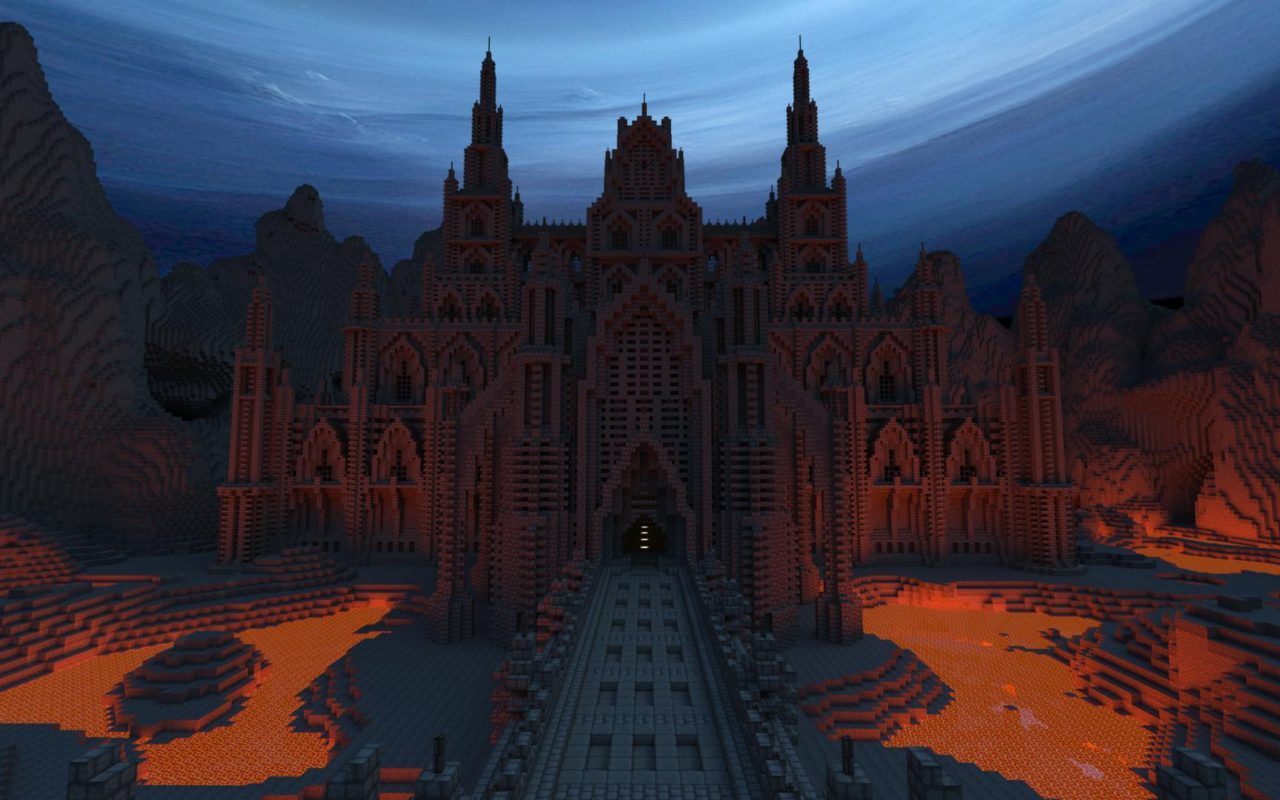
The most difficult thing will be to draw a large castle and, even worse, a staircase and a room inside it.
In the picture, the bridge is not wooden, but stone (gray cubes) and leads directly across the lava lake directly to the entrance.
You can draw something like this, but the castle must be brick or stone.
Then at the end you need to add an invisible (until the cell opens) portal.
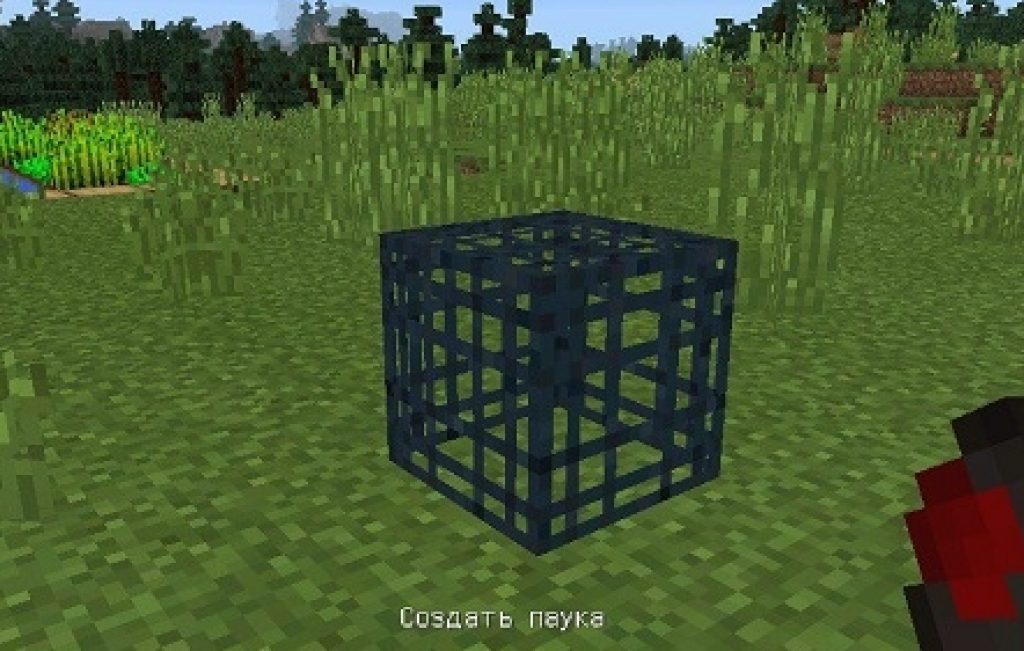
And, of course, enemies, a girl, a cage (must be unbreakable so that it cannot be broken during the battle with the boss), a room and a key.
So, when, finally (what a horror, I spent so much time on it!) the map is created, it will need to be saved as a regular game world.
This can be done by clicking on "Save" or “Save As New World/ Map/ Game/ Level”.
The map will be saved in the “saves” folder mentioned above.
The folder is located in the .minecraft game folder.
Now you need to test the card for functionality and complete it yourself.
If there are deficiencies, correct them in the same program. But don’t worry, you won’t have to do it again.
You just need to open it from the “saves” folder. After finishing, save again and test again.
They will be very useful later.
And now everything is almost ready! Now you just need to exit the game and go to the “saves” folder.
Having opened it, you need to create a new folder with the name of the map and copy the created map there.
Afterwards, on the folder into which the map will be copied, you need to right-click and select “Add “folder name” to archive.”
After clicking, the program (in this case, WinRar) will begin to archive (i.e., pack into one file) the folder with the map.


The map in the game Minecraft is the most important item for navigating the game world.
Thanks to the map, you can understand where you are and where the necessary buildings, rivers, mountains and biomes are located.
But after making a map, novice players see only a small section of the area, which shows the nearest trees and rivers.
And many gamers at this moment are wondering whether such a possibility exists at all.
The answer is yes, it’s possible in Minecraft. make a big map, which can show many kilometers around, and in this article we will describe in detail how to scarf it.

Regular card
Before you start make a big map need to craft a small one with a coverage size of 128 by 128 blocks.
1. First, you will need to find sugar cane that can be used to make paper. To do this, open the workbench panel and place three reeds in the middle row. In total, you will need eight papers to create a map.

2. Also, to create a map you need one compass, you can make it from four ingots and one red dust arranged in the following order:

— In the top row there is an iron ingot in the middle;
— In the middle row, there are iron ingots on the sides and red dust in the middle.
- In the bottom row the same as in the top.
- In addition, a compass can be bought in the village from the librarian for 10 emeralds.
3. Now you can start creating a map, to make it, open the workbench and place the compass in the center, and eight papers around it.

Having made a map, open it by pressing RMB, the surface of the game world will automatically be outlined on paper.
Craft a large map
So, having made a small map, you can start craft big having a size of 256×256 blocks.
To do this, open the workbench and place the card in the center and eight papers around it.

As a result, an additional unfilled space will appear on the map.
To completely complete the map, go to unfilled areas and the image will appear automatically.
The maximum map size is 2048x2048 blocks, this is quite enough to see entire islands and continents.
Now you know, how to make a big map in minecraft. Also, to save paper and effort, you can simply clone (redraw) the map.
To redraw, open the workbench and place a filled card in the middle and an empty one on the side.

By the way, the map can be hung on the wall using a frame.

A Minecraft player begins his journey in the game by appearing at spawn. If this turns out to be a good place, then he costs the house; if not, he looks for a better territory. But in any case, even after building a house, no one stops exploring the world. To avoid getting lost, you can use a compass, but it would be more productive to constantly carry a map in your inventory.
To craft a map, you will need eight sheets of paper and a compass. In the crafting window of the workbench, you need to install a compass in the central cell, and sheets of paper in the remaining cells, surrounding the compass. The resulting card will be empty, i.e. not open. As you move towards one of the cardinal directions, the landscape will be plotted on the map. If you open the map immediately after crafting, it will show that the player is in the center. If you go to one of the sides to the border of the map and craft a new card there, it will again show the player in the center. This function is often used for different biomes - by renaming the map on the anvil you can point to some interesting places.
If you place a card in the center of the workbench and fill the remaining cells with paper, the player will receive a card whose scale will be half the size of the first. This way you can go through several stages. The smaller the scale, the larger the area covered by the map.
Video guide:
Dear users, modifications for obtaining a mini map with the ability to place marks, receive data without reconnaissance, as well as setting an auto point of death are described below. Thanks to these mods, you can easily find a village or easily find a way out of a dungeon.
How to make a map in Minecraft without mods
The standard version of Minecraft has a map, but it is not very convenient to use. When you create it, you appear in the middle of the map, and when you start moving, the map fills up.
Recipe: (compass + 8 sheets of paper)
For the card to be filled, you need to hold it in your hands. There are several card sizes. The smaller its scale, the longer it will take you to fill it, and the more it will be able to display. But keep in mind that the smaller the map, the smaller all the objects displayed on it. To reduce its scale, you need to put the map on a workbench and surround it with sheets of paper.

By the way, there is a small bug here. If the map does not reduce its scale after such manipulation, you need to re-enter the game.
Trying to zoom out on a map that has already been explored is a bad idea. When you zoom out, everything you have scouted will disappear.
It’s convenient that the map can be copied, especially when playing multiplayer. To copy, place your card and an empty card in the crafting slot.

All players who have a copy of your card will appear as a yellow dot on it.

And if you place the map in a frame and hang it at home, the location of the frame with the map will appear on your map as a green dot. This will help mark your home, or other places you need.

Minimap for Minecraft using mods
But it’s much more convenient to use cards from modifications! They do not require crafting. You just need to install the MapWriter or Rei's Minimap mod and enjoy all the amenities!
MapWriter

In the MapWriter mod, pressing the M key opens a full-size map. You can easily change its scale with the mouse wheel and move around it, as well as place name tags in any place by pressing RMB. You can sort the same tags into groups. Switching between groups is done using the space bar.

And in single-player mode with cheats enabled, or when playing on a server with administrator rights, you can select a mark and press the T button to teleport to it. There is also a function for this mod automatic installation marker at the place of your death. In addition, throughout the game you can see a mini-map displayed as a circle in the top corner of the screen.
Rei's Minimap
Rei's Minimap mod is in no way inferior to MapWriter. The only thing is that there is no way to move around the map with the mouse, and you can only change the scale with the keys.

Labels can be set by pressing the C key. You can give it a name and choose a color to display it. It will appear as a dot in your field of view and on the map when you press X. The map will also show the distance you are from the marker.

This mod also has the function of appearing a mark at the place of your death.
Conclusion
Paper map or modifications? You decide. However, sometimes it is better to have a map and know the way home than to get lost in the dark running away from zombies and creepers.